This post contains affiliate links.
The rapid rise and growth of digital signage is replacing more and more surfaces across various industries, providing a platform to send information to a target audience that is convenient, efficient, and intuitive. A common approach in developing a digital signage network is to use a Wi-Fi connection, which gets the job done but doesn’t fit the desired needs or dependability many signage clients seek in their system. Hence, they opt for a local server instead.
To get digital signage to run off a local server, you will need to invest in a digital signage server to set your network up with or utilize digital signage software. The local server or software you choose for your digital signage will depend on your budget and how extensive your signage network is.
If you have wondered how to set up your digital signage network to run off a local server, we have got all the answers for you below.
Requirements to Run Digital Signage on a Local Server
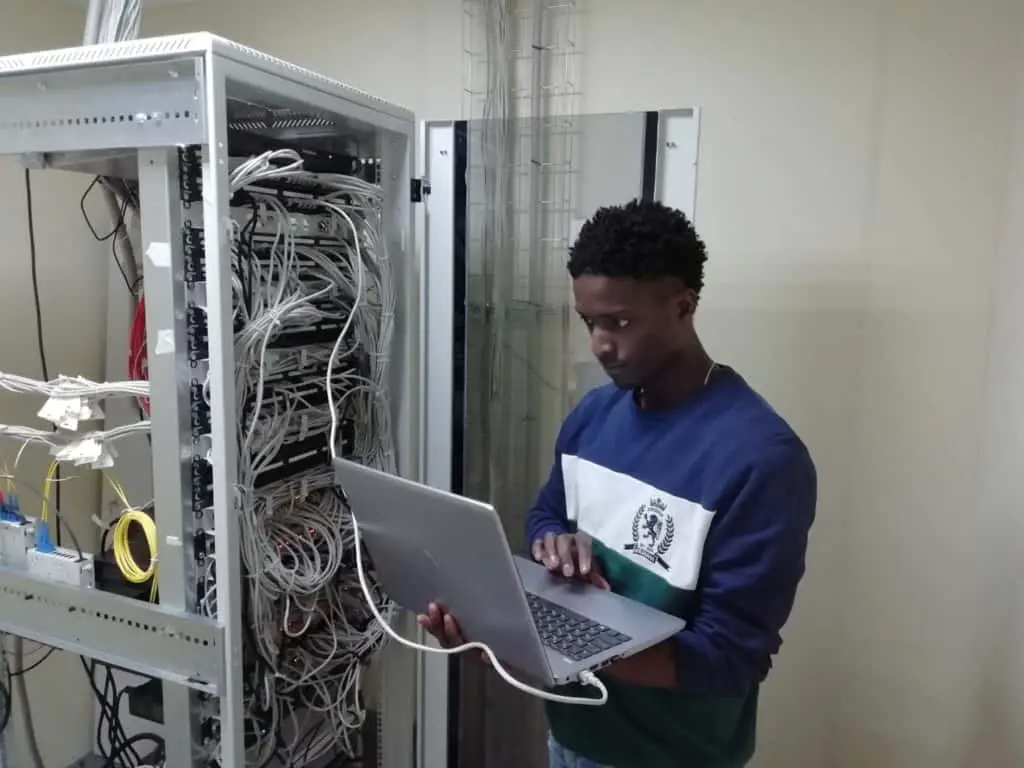
When you commit to running off a local server for your digital signage, a professional installation of the server may be required to get you connected to your network.
The installation requirements for your local server will vary depending on the server you choose. Some older models will run on even outdated operating systems and CPUs with few requirements, while others will not function without a more powerful up to date processor.
For the server installation, you’ll typically need the following:
- Most modern-day servers need a minimum of Microsoft Windows 2008 to have optimum functionality within your digital signage system.
- Once your server is operational, you will need to briefly connect to the internet to download the required software to manage your digital signage content.
- To be safe, we also recommend that you have a minimum 2.7GHz Desktop Intel Processor—especially when supporting an expansive network of digital signage.
If you choose to go with digital signage software, you can skip physically installing a server and simply use one that is already within your network. However, keep in mind that you will need to dedicate a server to be exclusively local for this option.
Choosing the Right Server
It is essential to know how large of a network your signage will reach; this will determine a server that fits your requirements. For example, if you aim to stream content on an extensive network of monitors, holding back on a larger server is not an option.
Below, we have listed some of our favorite options for local signage servers that fit the needs of both small businesses and large institutions or corporations:
mediaSERVER
When you opt for a mediaSERVER, you can expect a user-friendly server that gets the job done with flying colors. With a capability of reaching 1,000+ screens locally, this is a perfect option for digital signage clients who need to fit the requirements of a medium to large local network.
Having a mediaSERVER in your domain gives you the freedom and independence to have complete control over your system, without monthly fees, in a manner that guarantees optimum security to the most sensitive information you stream.
UCView
Using a ViewEdge Server from UCView offers the power and versatility every digital signage client is looking for in their offline server network. Whether you are dealing with just a small network of monitors or a 1,000+ UCView has got you covered.
Here are some servers that stuck out to us from UCView:
- ViewEdge 10: The ViewEdge 10 is a fantastic and reliable digital signage server for clients aiming to have up to 20 monitors in use. It is capable of streaming to one mid-sized location or several smaller locations.
- ViewEdge 100: The ViewEdge 100 is an upgrade from the above model with the ability to reach up to 250 media players. This a perfect model for a mid-sized location or numerous small locations.
- ViewEdge 500: The most popular model from UCView, the ViewEdge 500 can confidently reach 500 media players and is among the best in the industry.
There are some great options on the market for localized servers that deliver the results you want out of your digital signage. Calculating your expectations is the first step in choosing the right server.
Setting Up Your Server Domain
Your server will come with a domain, which can be accessed after downloading the required files online—designated to its content management system (CMS). You’ll need to download these files before you can begin the software installation process.
Before you can begin allocating your digital signage content, following the download wizard's standardized steps, and setting up your profile, will be mandatory.
Linking Your IP Address
Next, you will need to ensure your IP address is linked to your network.
Your IP address will be automatically linked with the one associated with the PC you are registering with and then mounted to Port 80. Since you will be running off a local server, any additional IPs you want to connect with the domain will need to be manually configured within your LAN network. (Port 80 is often filled with a third-party application such as Skype, which may need to be manually adjusted.)
Once you have configured your IP logistics and completed the CMS download process, you will have full access to your domain and no longer need the internet to move forward with streaming your digital signage content.
Streaming Digital Signage Content on a Local Server

The previous installation steps will give you access to your content management system (CMS). Regardless of how you are running your digital signage network, you will need to manage your content through a system that allows you to schedule and organize it.
The following methods are different ways you can set up your content with a CMS, as well as alternatives:
Method 1
This is where you can begin distributing your digital signage content across the monitors in your network. Here are the steps to get you started:
- Login to your CMS/Domain.
- Access the content section.
- Select the content you wish to stream.
- Allocate your signage content to the desired monitors set up in your network.
This will display your signage based on the content you chose, with the ability to create a schedule and routine for your digital signage.
Method 2
There are many options for downloading digital signage software out there, and luckily many of them can achieve the same result as a server that comes with its own CMS.
Keep Xibo in mind when hunting down your signage platform, as they deliver results in the industry that rival top competitors. This easy to use software allows you to utilize any local network you choose as your LAN network.
The CMS interface connected to Xibo, which will require you to register in the same way mentioned above, allows you to utilize a local server's perks without the need to purchase one specifically for digital signage.
After this, display your content the way you see fit through Xibo’s domain.
Method 3
Alternatively, you can stream your content and bypass the need for a CMS altogether using a more old school method, which encompasses a system of HDMI UpConverter to VGA cables. This is a direct cabled line from your designated signage PC to the chosen monitor(s).
Note: This is a rudimentary approach that is limited in capability but can prove to be cost-efficient and less hassle for a small digital signage network.
In Summary
Above, we have taken a look at how to get your digital signage to run off a local server, the installation that comes with it, and some worthy contenders in the industry to keep in mind as you make your choice.
The most important factor to keep in mind when setting up your local server is your digital signage network's capacity.

